Corvette Parts Service Co.
Dash Cluster Repair
Page 11
Removal Instructions 1 877 349 2838 $245.00
|
Click on items below to reach Web Pages
Corvette Dash Cluster Customized Clusters Direct Repair
Headlight Motors
Climate Controls
How to Order Turnaround times
Your Odometer
Warranty Ucando Notes
Removal Instructions
Return to Home Page
Please feel free to copy this set of Removal Instructions. They are here for
your use to remove and replace your Cluster. This is the original set of
removal instructions from Corvette Parts Service Co.
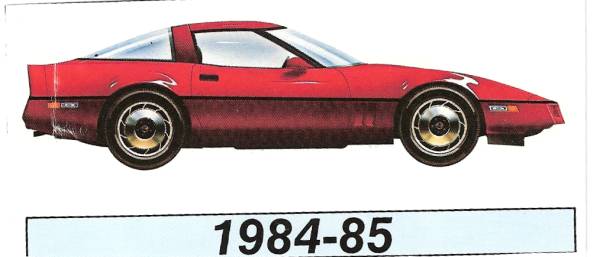
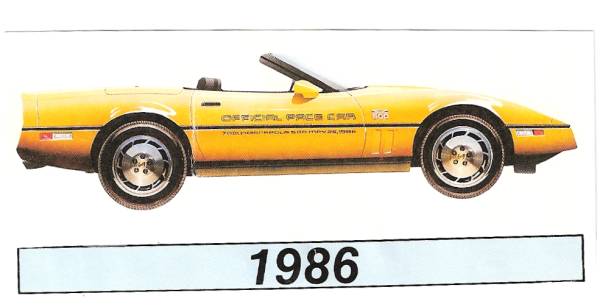
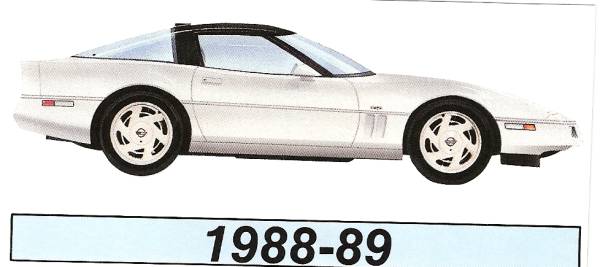
The following steps and photos outline
the process of removing the Dash
Cluster from the 1984 thru 1989
Corvettes. |
|
|
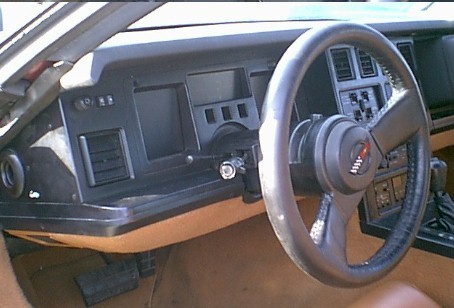
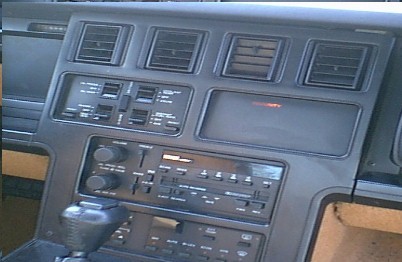
The photo above is the view you
see when you open the driver side
door. First step is to remove the
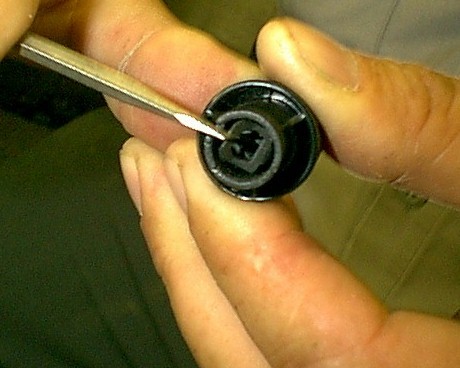
Headlight Switch Knob. The photo
below is a closeup of the back end of the knob with a slender bladed
screwdriver in position to release the
knob retaining clip. |
The view above of the Radio Panel
is shown to advise you to loosen this panel in order to gain access to Dash pad retaining screws. You will
remove (3) screws under the Cluster
bezel and (2) screws under the Radio
bezel. |
The Cluster Bezel is removed after
the Headlight Switch knob. Four(4)
Phillips on the left end of the bezel
and two (2) screws on the right side. |
The following photos were taken with the Steering Wheel removed to gain
clarity. You do not remove the
Steering Wheel to remove Cluster.
|
|
|
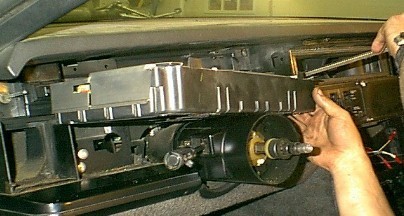
The photo to the left shows the
Cluster exposed with the dash pad
not lifted as yet. Remove or loosen
four (4) 7mm screws holding the Cluster. Two alongside the Steering
column and two at the upper corners of the Cluster. Tilt the steering
column down and unscrew the tilt lever (counterclockwise). |
The view above shows the area just
above the Cluster where the dash pad retaining screws are located.
Remove those screws and wedge the dash pad up slightly. Now you can
tilt the cluster forward and to the left.
Position the cluster over the Steering
Column as shown in the next view. |
|
|
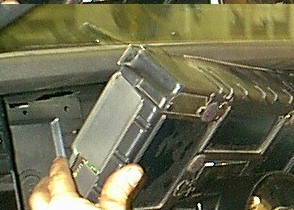
Disconnecting the dash harness to
Cluster connectors is accomplished
by lifting the metal security clips
with a small screwdriver and wedging the connectors off with a flat blade screwdriver. The Cluster
is free. |
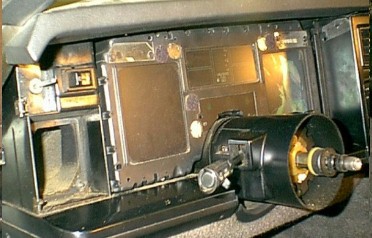
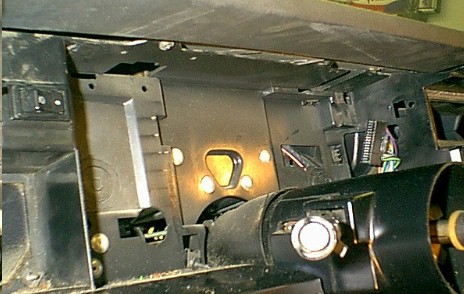
The photo on the right shows the
empty Cluster mounting area. If you
look closely you can see the 24 pin
and the 32 pin connectors that bring
all voltages and all data from the many functions that the Cluster
monitors. Reverse this procedure to
re-insert the exchanged Cluster. |
|
84/85 Vette 86 Vette 87 Vette 88/89 Vette
Keywords
Corvettes
Corvette Parts
Corvette Salvage
Cluster repair
dash cluster
digital dash cluster
antennas
gages
speedo
tach
1984
1985
1986
1987
1988
1989